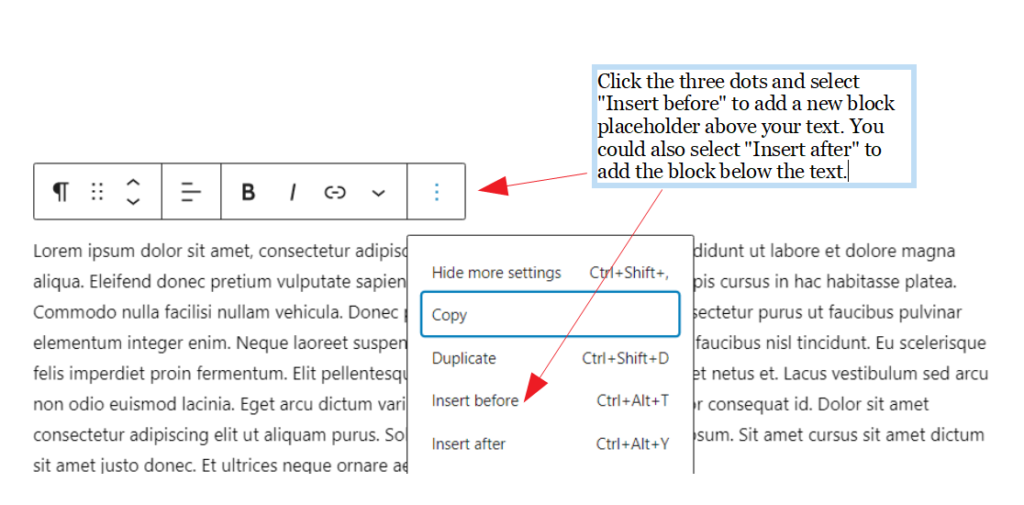
1. Add a New Empty Block
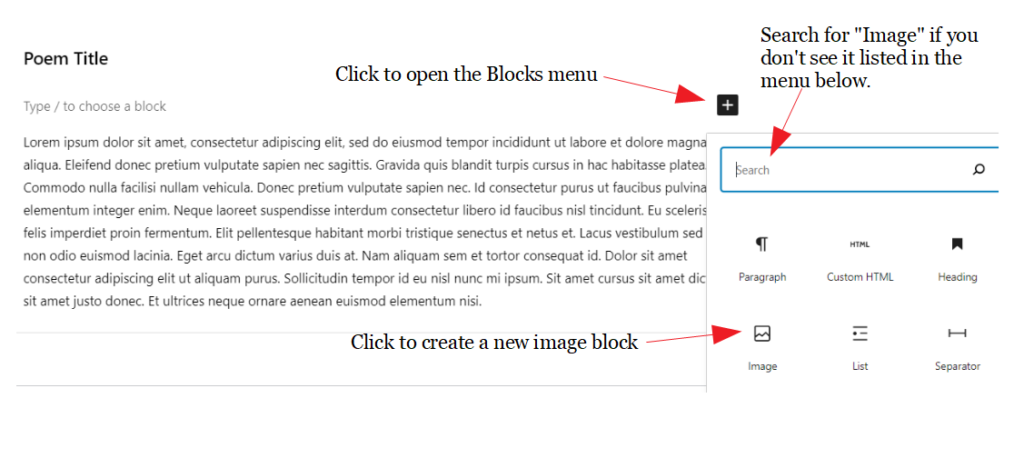
2. Insert an Image Block
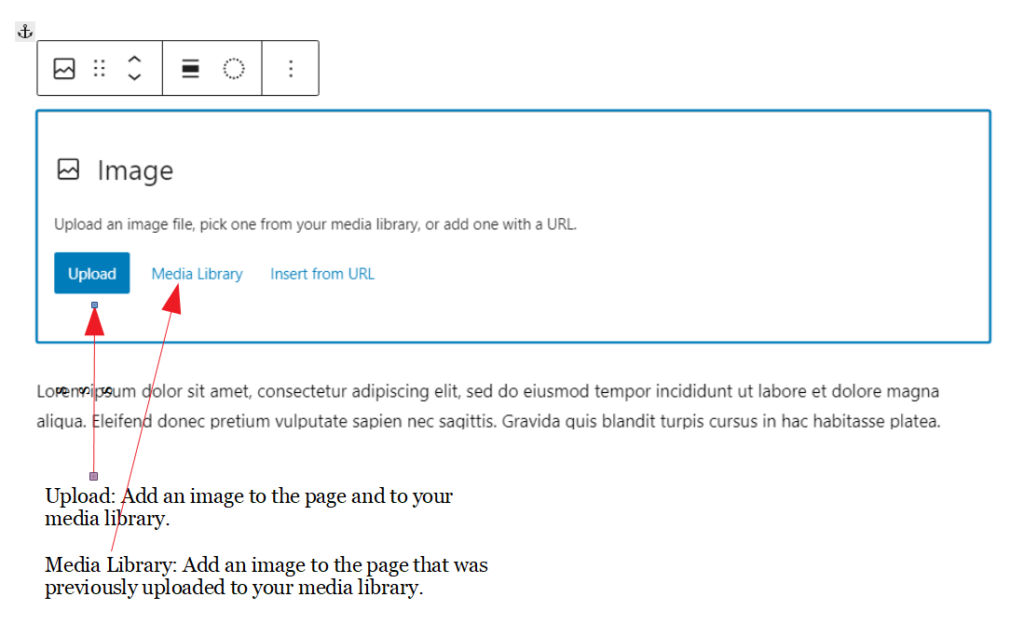
3a. Image Selectors
After you create the image block, the controls look like this. Now you can insert an image.
There are three options for the source location of the image you want to add:
- Upload (from your computer)
- Media Library (your personal storage place for images, videos, and other files such as a PDF)
- A location on another website (Insert an image from the web)
We’ll ignore the third option for the purposes of this tutorial.
If this is the first time you’re adding an image, Your Media Library is empty. Click the “Upload” button to pick an image on your computer.
If you’ve already added images and want to use one of them, click the Media Library link. Otherwise, upload a new image.
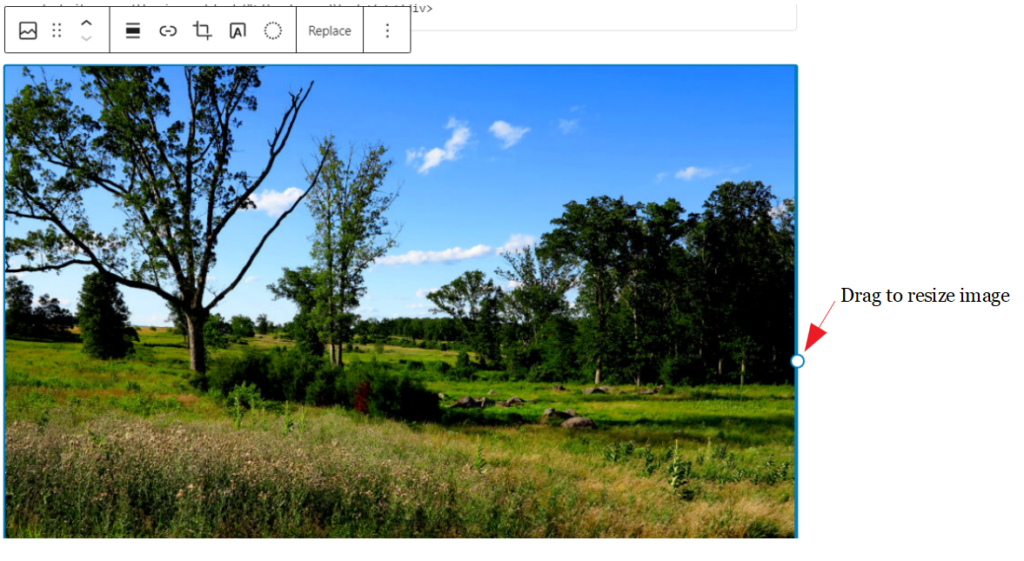
3b. Resize the image
It’s always best to resize and crop your images to the desired size prior to upload. But you can resize your images here too. Simply, drag with a resize handle (there is one on the right side of the image and one one the bottom. Either one will get the job done).
3c. Wrapping Text Around an Image
Here is a resized image with a header block above and a paragraph block below. If you’re happy with the look, then you don’t have to do anything except save your work. If you want to wrap the text around the image, follow the step below.

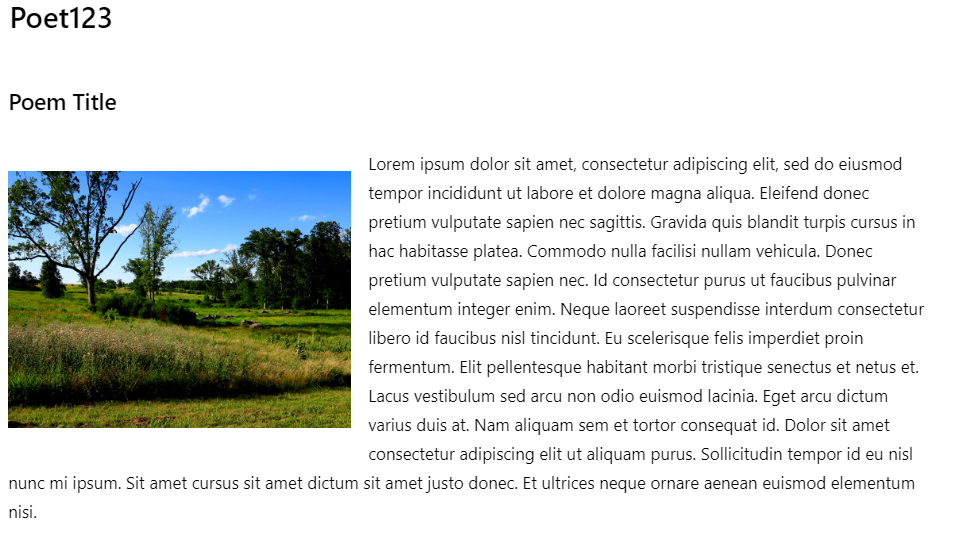
3d. Result of “Left align”
![]()